




How to Organize Gypsum Board Loading?
Loading gypsum board correctly is essential to prevent edge damage, warping, and internal stress. Boards must always be stacked flat, fully supported, and lifted by two sides with a mechanical aid.
TRUSUS transport insight: quality begins the moment the first board is lifted, not when it’s installed.
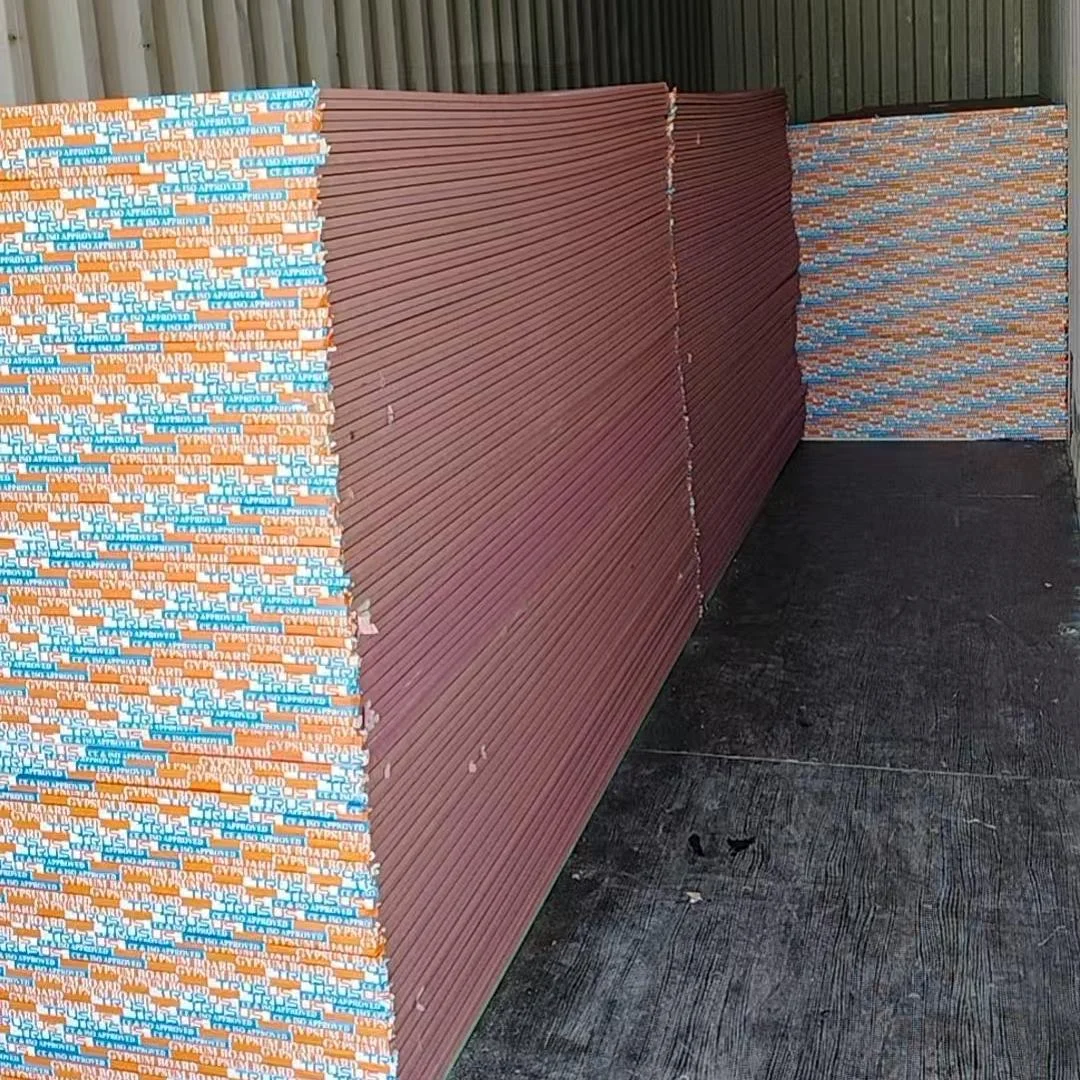
Gypsum boards should be loaded and unloaded horizontally, with pallets or dunnage placed at uniform intervals. Never lean boards at sharp angles. Always secure stacks during transit to avoid vibration damage.
Gypsum Board Loading Recommendations
| Step | Procedure | Purpose |
|---|---|---|
| 1 | Use forklift with extended forks | Distribute weight evenly |
| 2 | Keep boards horizontal | Prevent bending and cracking |
| 3 | Support with wood or rubber spacers every 20–24 in (500–600 mm) | Avoid deflection stress |
| 4 | Strap stacks firmly | Ensure stability during transport |
| 5 | Cover with waterproof sheet | Protect from moisture |
These small steps preserve the structure and surface finish of the boards before installation even begins.
What Is the Allowable Deflection for Gypsum Board?
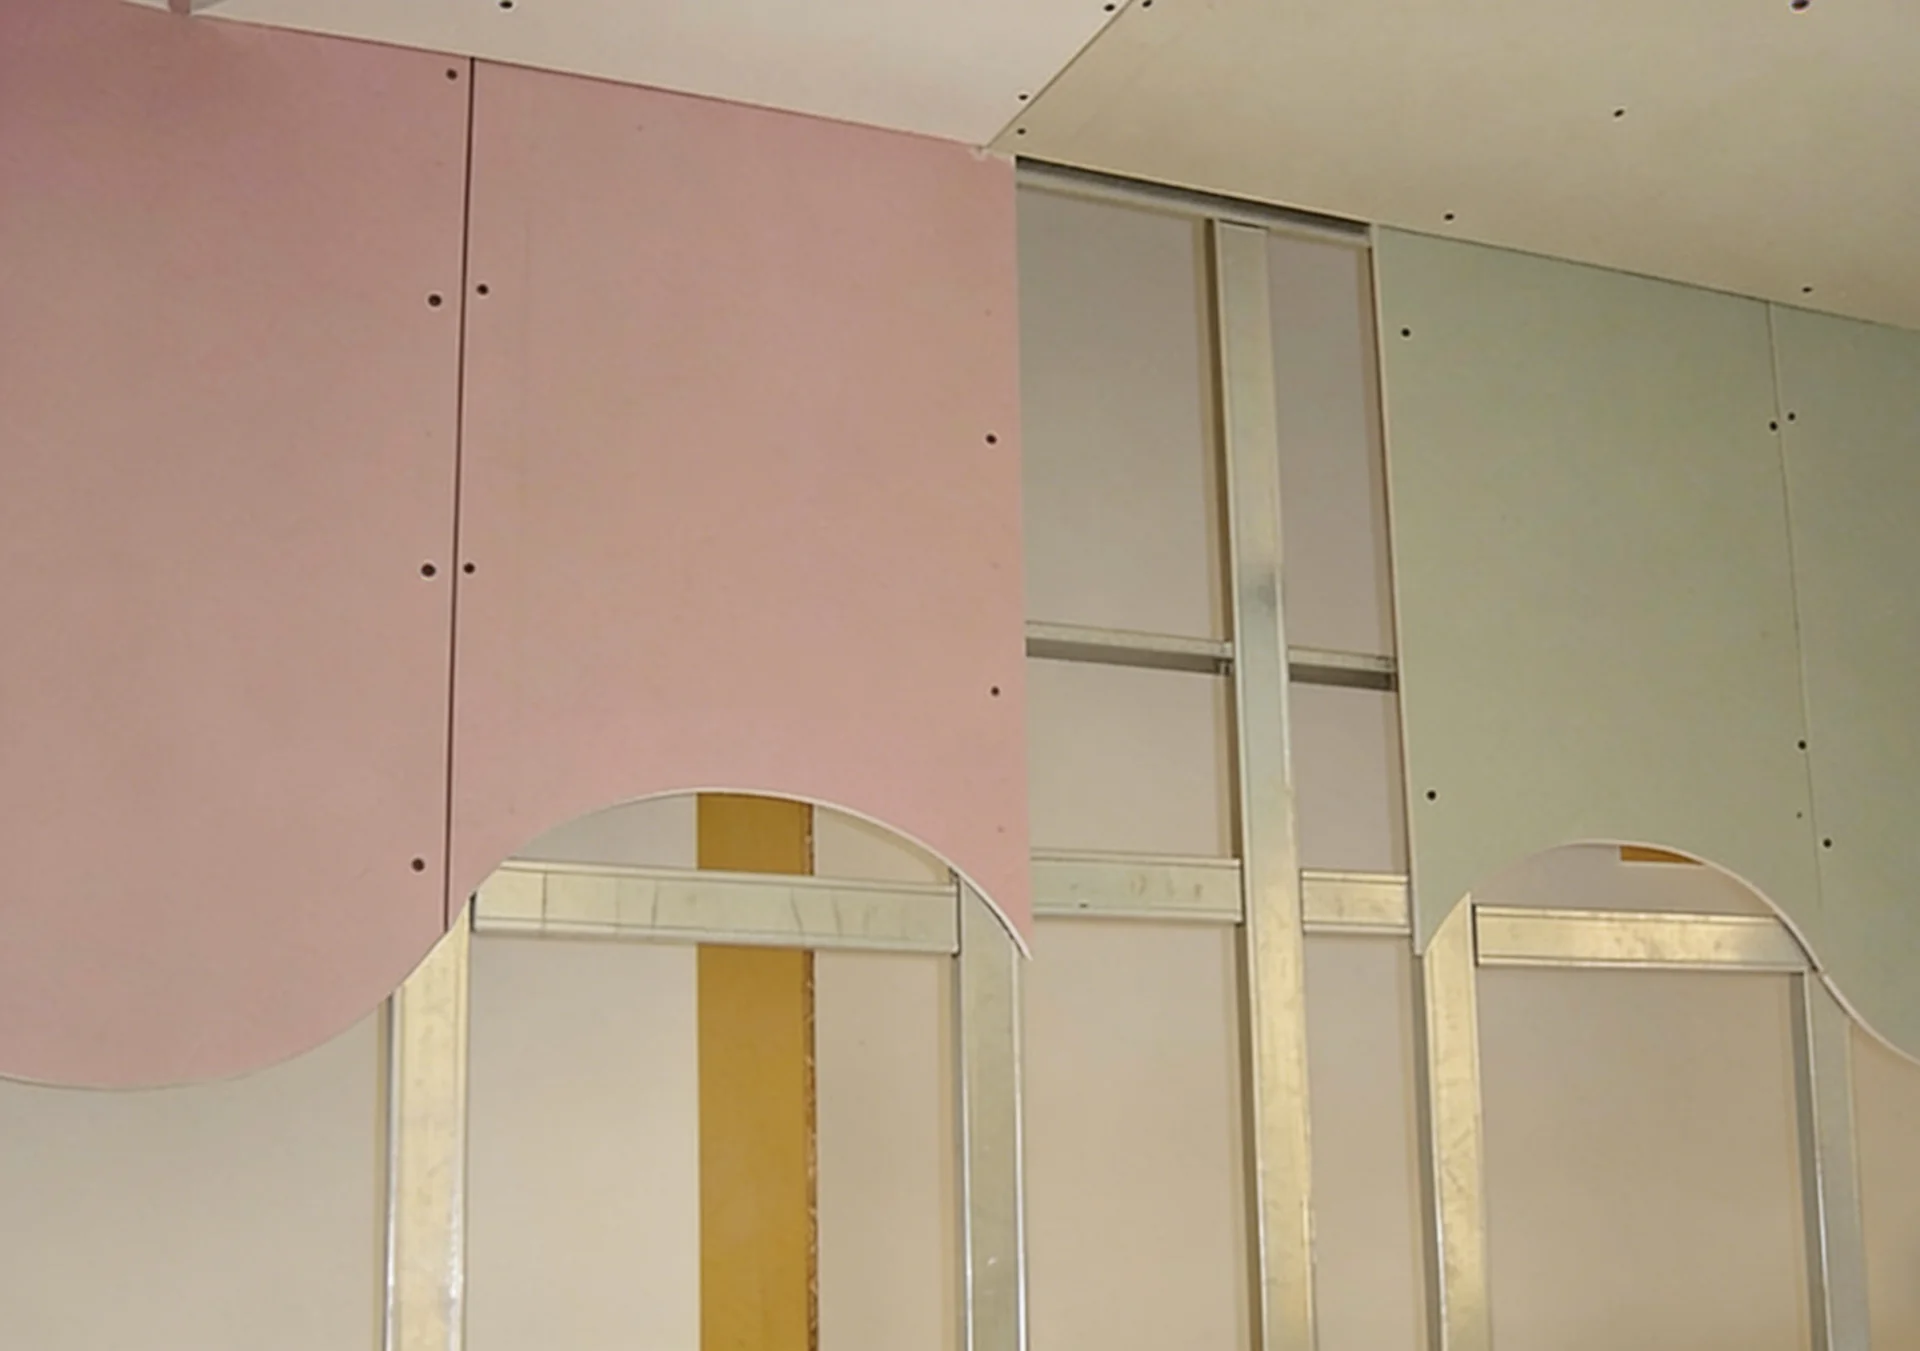
According to ASTM C840, the allowable deflection limit for gypsum board assemblies is L/240 for walls and L/360 for ceilings, where L is the span length in millimeters or inches.
TRUSUS design insight: tiny deflections can magnify into visible wall cracks when ignored early.
Allowable Deflection Guide
| Application | Maximum Deflection | Typical Span Example | Function |
|---|---|---|---|
| Wall System | L/240 | 2400 mm → 10 mm | Appearance and crack control |
| Ceiling System | L/360 | 3600 mm → 10 mm | Prevent visible sag |
| Bulkhead or Soffit | L/480 | 4800 mm → 10 mm | For precision finishes |
The slimmer and larger the span, the tighter the deflection control must be. Framing quality is key.
Which ASTM Standard Provides Specifications for the Handling, Storage, and Application of Gypsum Board?
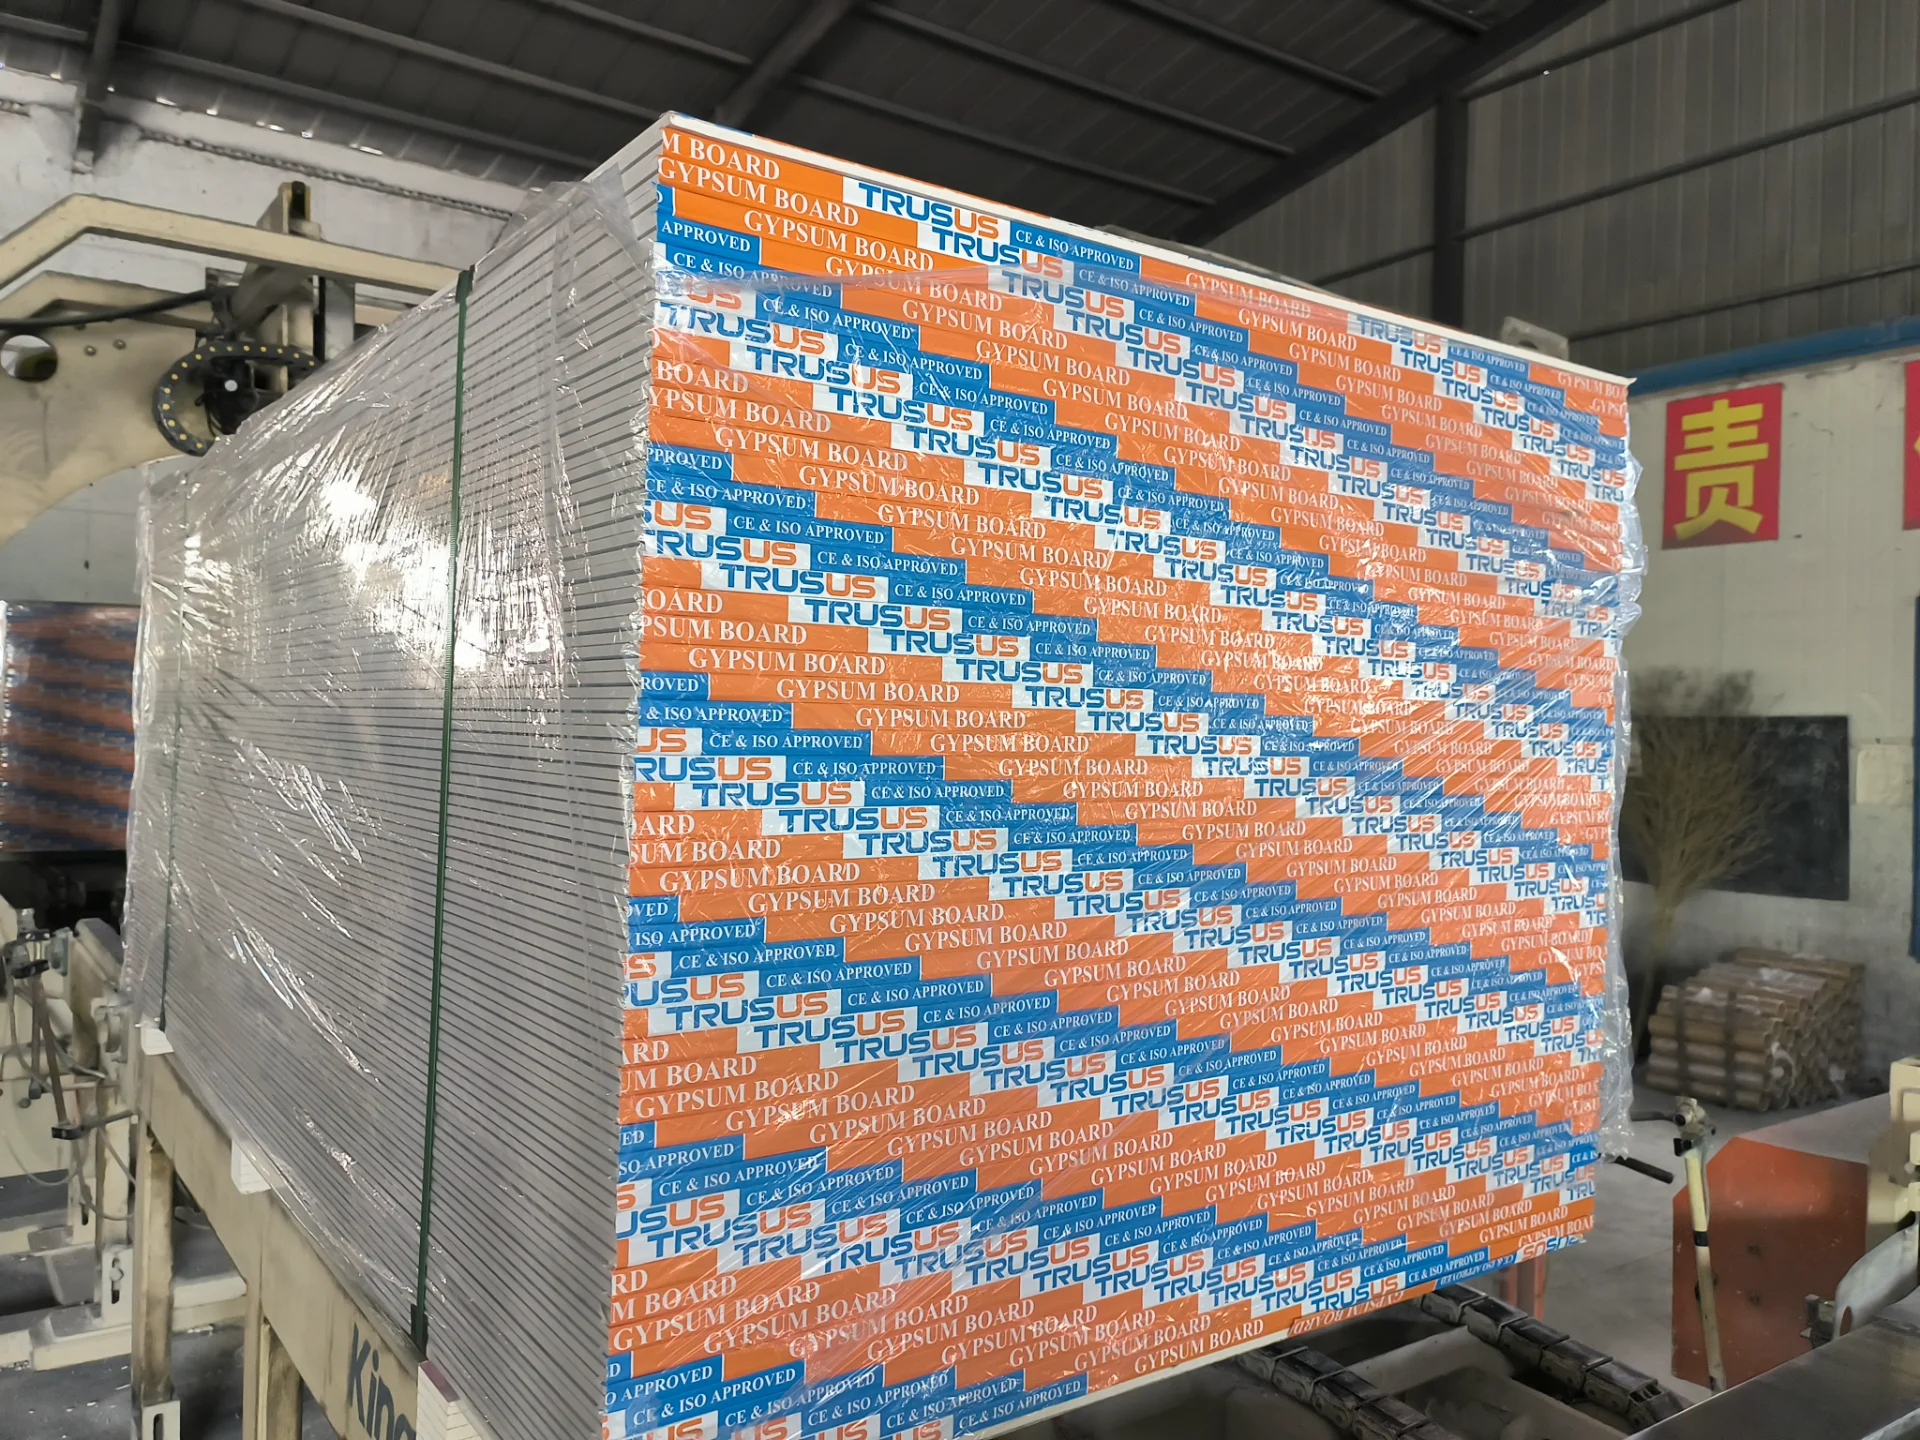
The ASTM C840 standard provides complete specifications for handling, storage, and application of gypsum board. It defines correct practices for framing alignment, fastening, joint treatment, and environmental conditions during installation.
TRUSUS standard insight: a system’s reliability depends on how consistently teams apply one shared rule—ASTM C840.
ASTM C840 Core Content Summary
| Section | Title | Main Description |
|---|---|---|
| 4 | Storage and Handling | Keep boards dry and flat, handle on edge only during installation |
| 5 | Application | Defines fastening spacing and joint treating methods |
| 8 | Finishing | Joint compound, tape type, drying conditions |
| Annex A | Typical Installations | Technical examples for walls and ceilings |
Adhering to C840 ensures that boards retain physical integrity and meet design performance standards.
How to Calculate the Gypsum Board?
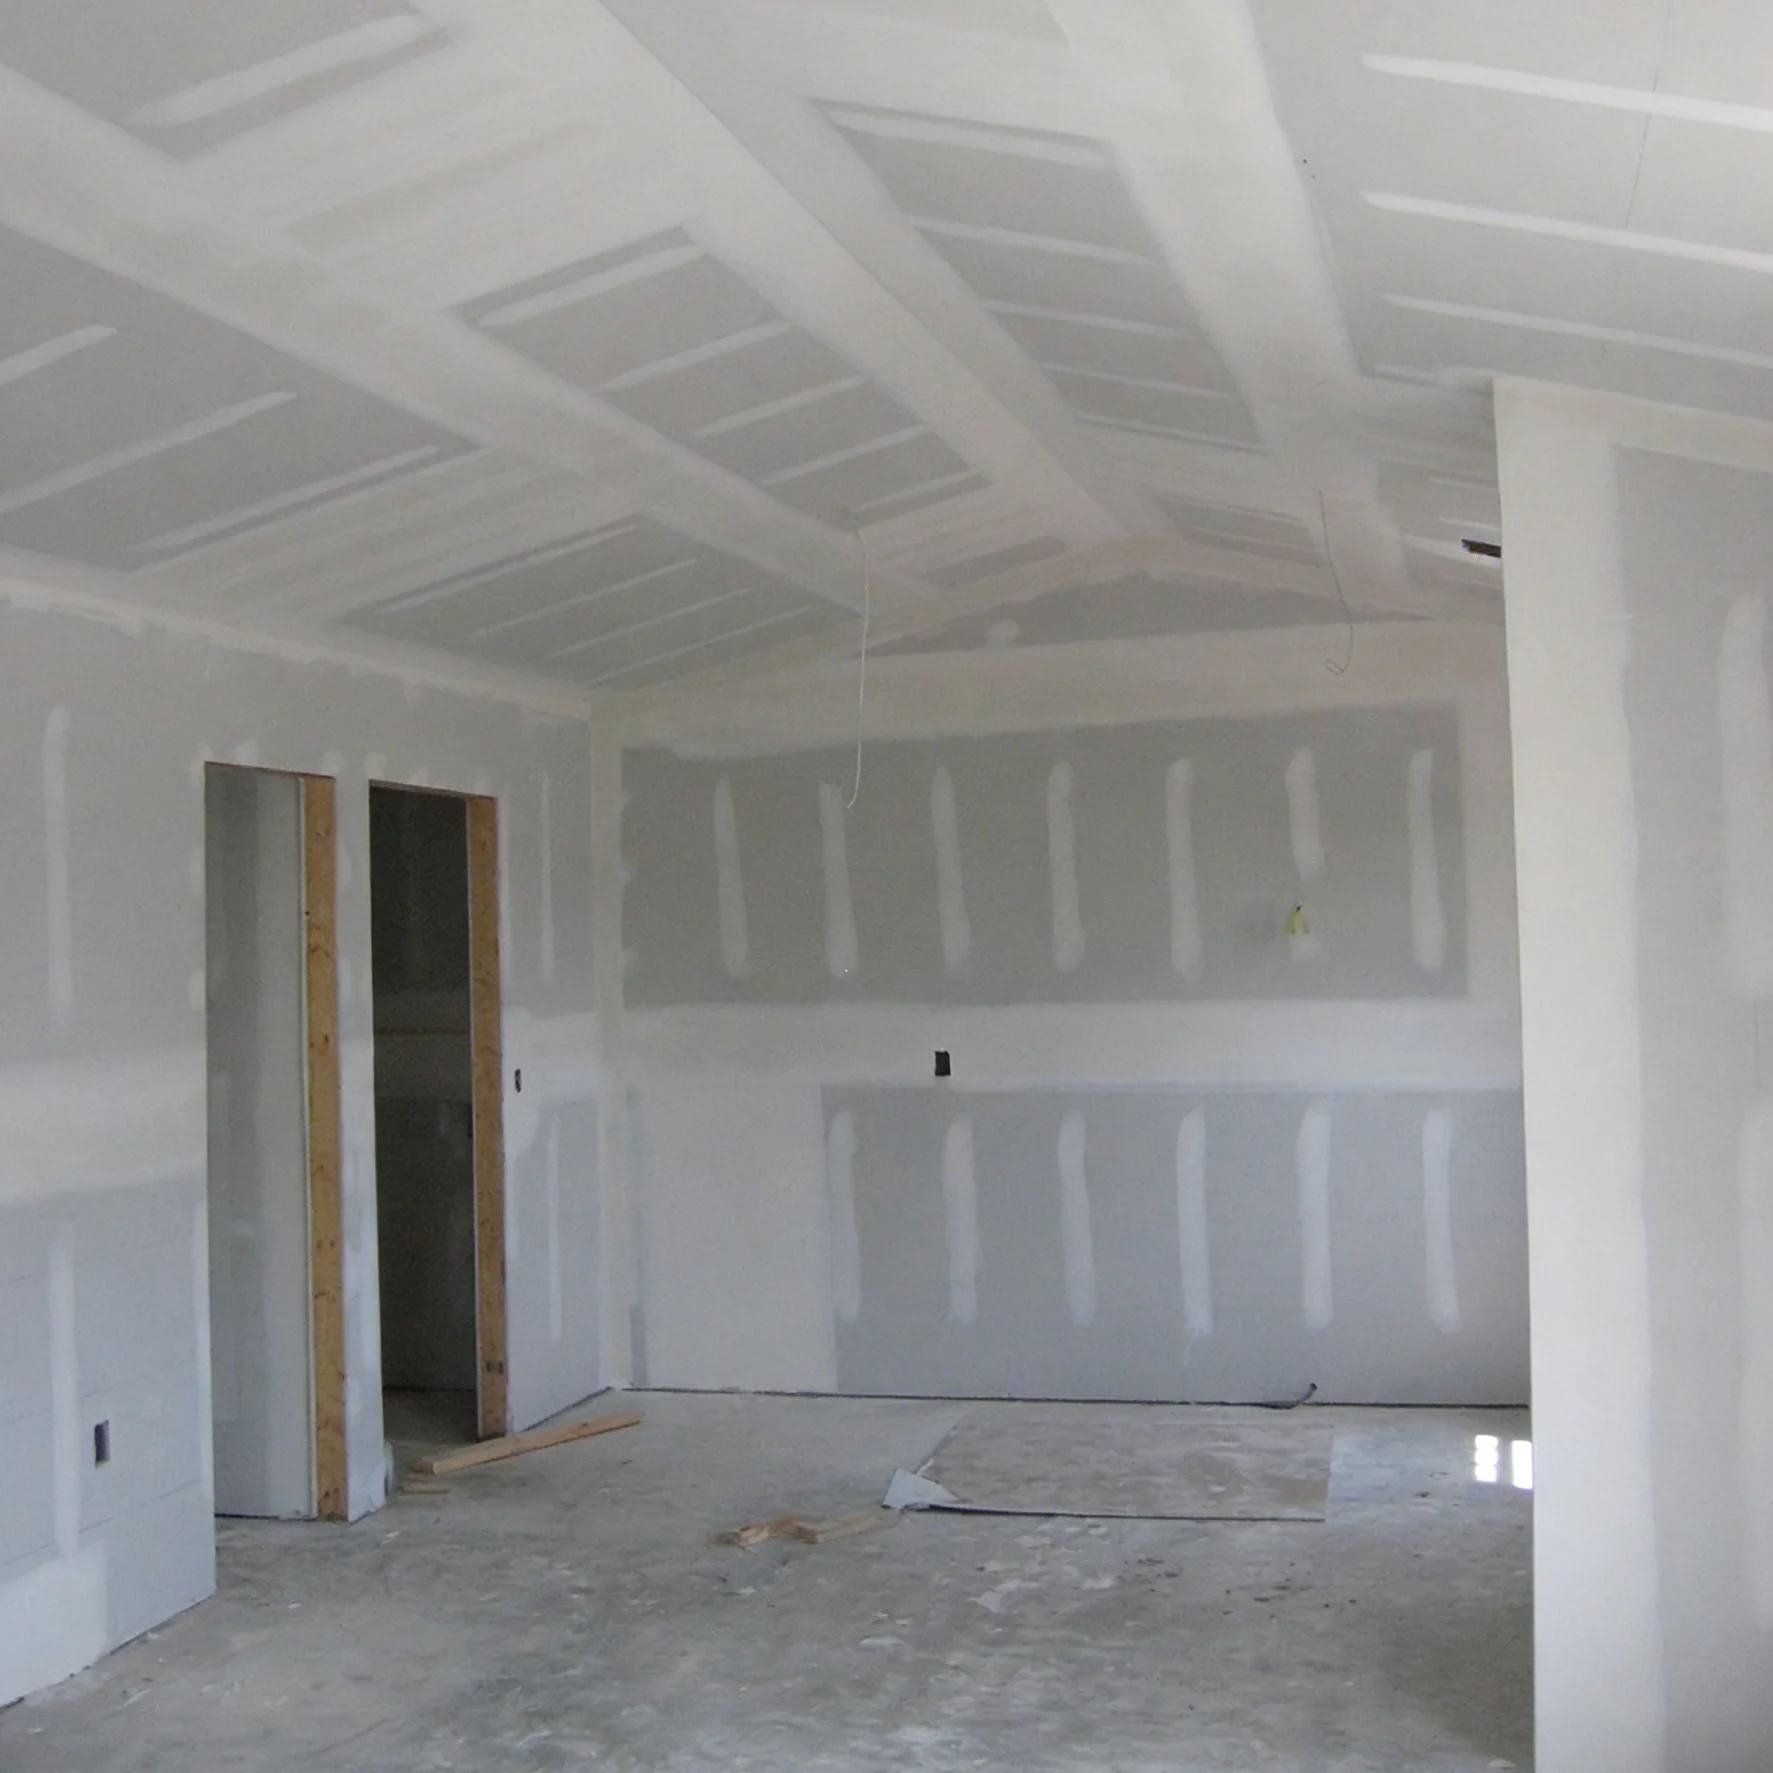
To calculate gypsum board quantity, determine total wall or ceiling surface area, then divide by the area of one board (usually 1.2 m × 2.4 m or 1.22 m × 2.44 m). Add 5–10% waste for cuts and fitting.
TRUSUS installation insight: board calculation is not only math—it’s how you design efficiency into logistics.
Gypsum Board Calculation Example
| Step | Data | Calculation | Result |
|---|---|---|---|
| 1 | Wall area = 120 m² | — | — |
| 2 | Board size = 1.2 m × 2.4 m = 2.88 m² | — | — |
| 3 | Boards needed = 120 ÷ 2.88 | = 41.7 (42 boards) | |
| 4 | Add 10% waste | 42 × 1.10 | = 46.2 (47 boards total) |
Allow for openings and irregular shapes by adjusting the waste factor. For large projects, digital take‑off tools streamline this process with layer segmentation and edge tracking.
Conclusion
At TRUSUS, I see every sheet of gypsum board as part of a system—loaded carefully, installed under standards, and calculated with precision—because structure, not surface, defines lasting quality.
